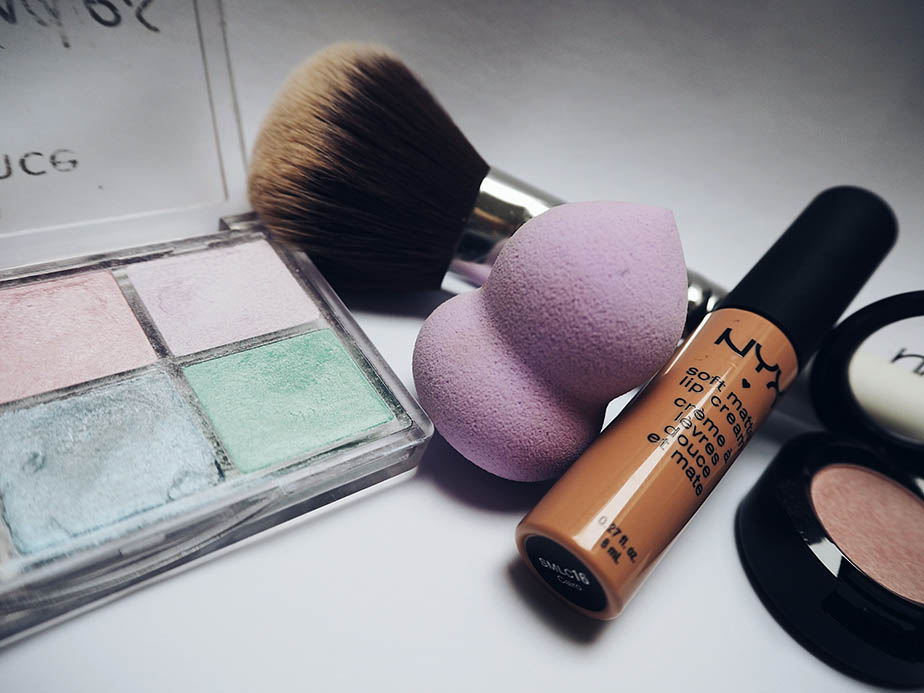
It’s open city once again and while you have to brush up on your makeup skills, you have to remember to keep those makeup brushes clean and sanitized to make sure that your skin is safe from any infection. Before we start on our cleaning process, I believe it’s best to know first your instrument. Below are the parts of your brush:
Parts of a brush
BRISTLES – these could either be made up of natural hairs or synthetic hairs. For this “how-to” article, let’s work with natural hairs first. The bristles which is usually called the brush’s “head” and is divided into three mini-parts:
TOE – the end of the brush that touches the skin
BELLY – the length of the brush that provides the “sweeping” action in make-up application
HEEL – the part of the bristles that are connected to the ferrule
FERRULE – this is the part of the brush that connects to the handle and keeps the bristles together. The indention at the end of the ferrule connected to the handle is called the “crimp” and holds the ferrule firmly to the handle.
HANDLE – may differ in length and thickness and may be made of wood or synthetic material.
Before you start cleaning, you have to prepare the following items:
a big bowl with warm water – yes warm water or a little warmer than lukewarm – to make sure that the make-up remnant would dissolve into the water faster
a small bowl with antibacterial detergent – you don’t need so much so depending on how many brushes you’d be cleaning, use 1 drop per brush.
Cleaning Brush
A cleansing pad – yes, you can use your hands but using a cleansing pad can provide better traction and will allow better chances to go into the brush to scrub off the products.
tap with running water – to cleanse off the suds and make sure that it’s properly cleansed
conditioner – to make sure that the bristles are soft and gentle on your face
towel or drying rack – to prevent water from flowing to the ferrule, you would need this to dry your brushes or by hanging it upside down using a drying rack.
brush savers – used not only to keep the brushes in good form but also helps in blocking off dirt and dust when not in use.
Now, let’s begin:
Dip the brush in the big bowl to wet the bristles Then again in the small bowl to get a little detergent into the bristles.
Rub the bristles into the cleansing pad to lather up the cleanser into the brush – use a circular motion to make sure that all products stuck to the bristles are dislodged
Open your tap to cooler water and wash off the suds from your brush squeezing the suds once in a while to make sure that it’s properly cleansed
Apply conditioner to your brush to soften the bristles when touching your skin. This may be optional but like regular hair, natural brush hairs need to be conditioned to keep its soft texture. Let it stay for about 2 minutes for the conditioner to work.
Open the tap again to rinse off the conditioner and squeeze off some of the water for proper drying.
Place the rinsed brushes on the towel to dry off or slip it into the drying rack also to prevent the wetness from reaching the ferrule. Remember that keeping the ferrule dry lengthens the life span of the brush and keeps it from shedding
As soon as the brush is absolutely dry, slip the net savers to keep it clean before using it again.
Cleaning your brushes should be done regularly. This prevents your brushes from accumulating muck from your make-up products. This then gathers bacteria that can make your brush a haven for propagation – and you definitely don’t want that.
Do you have any other suggestions? Write to us and we’ll post them on our next issue.
Enjoy cleaning!
Photo by Beata Dudová from Pexels